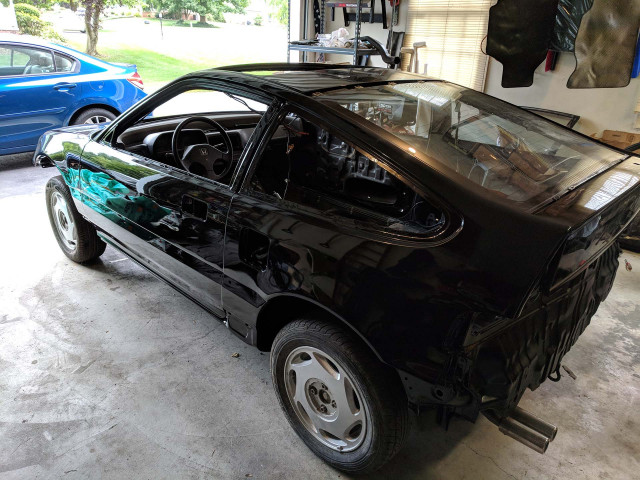
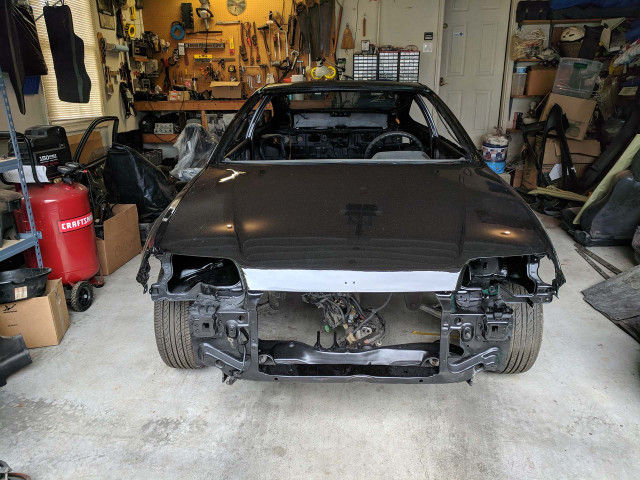
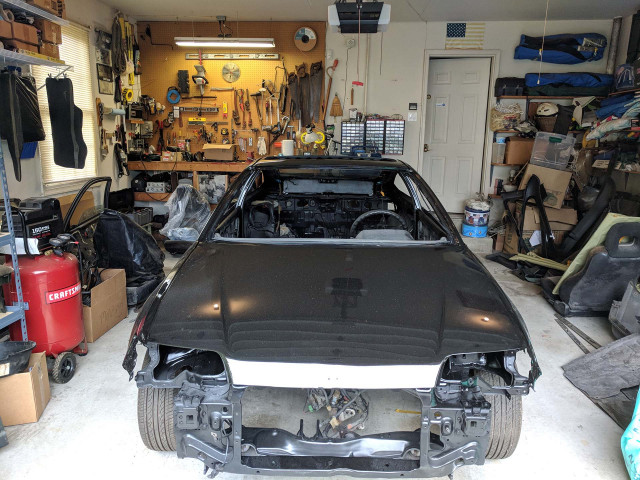
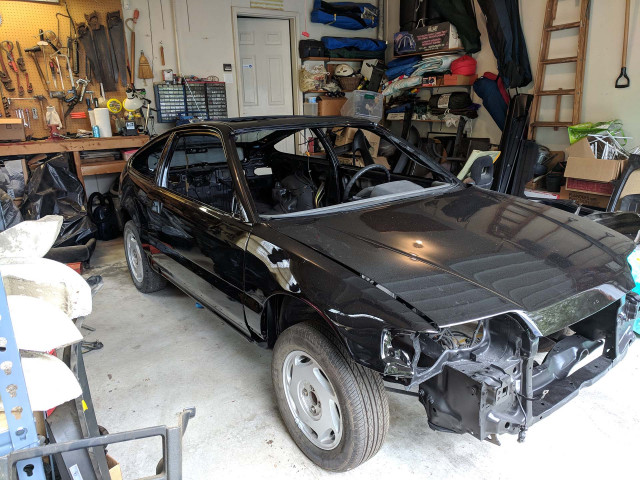
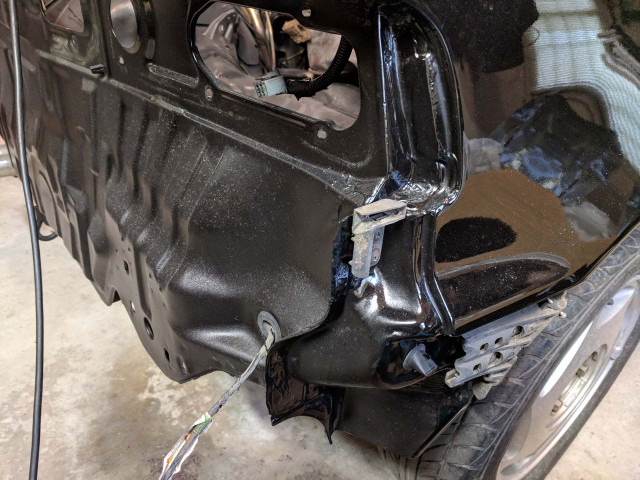
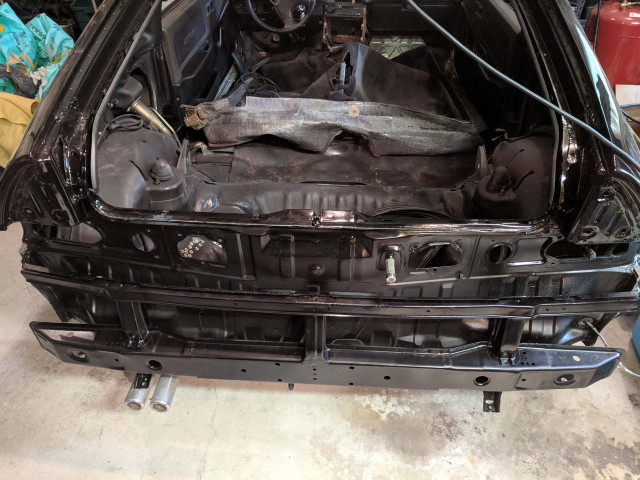
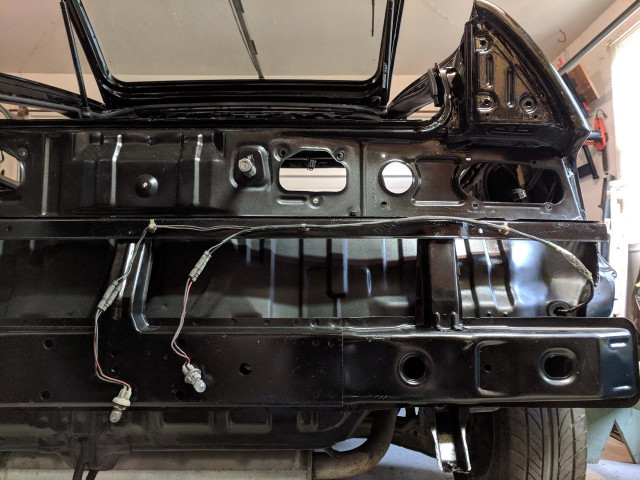
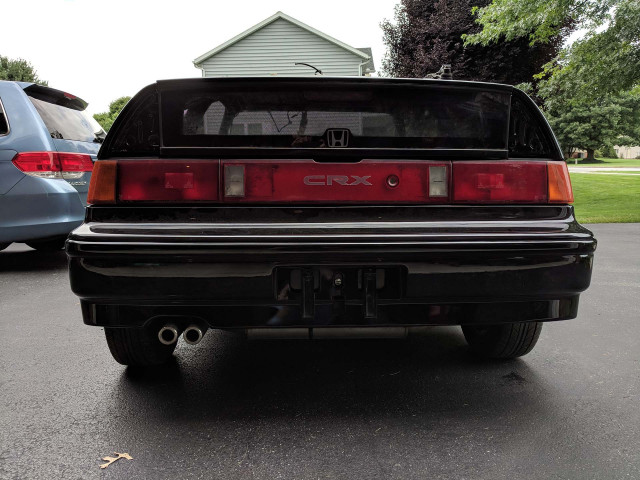
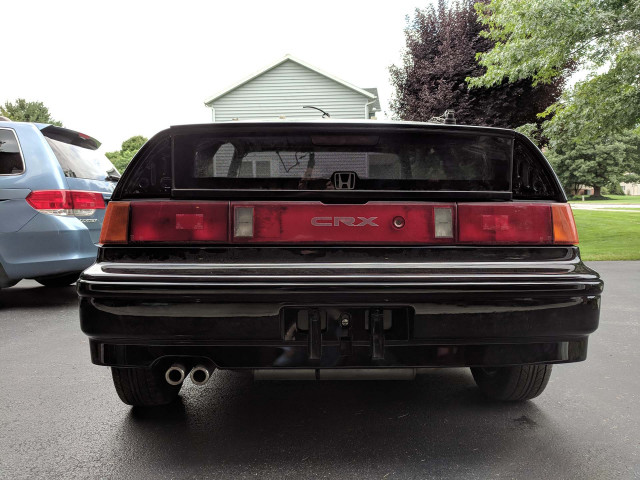
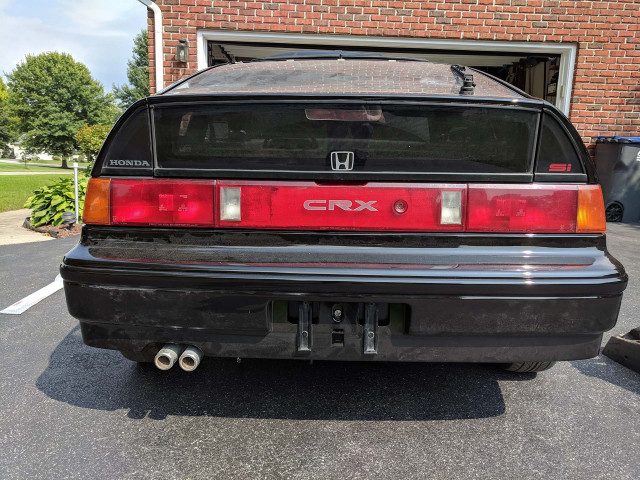
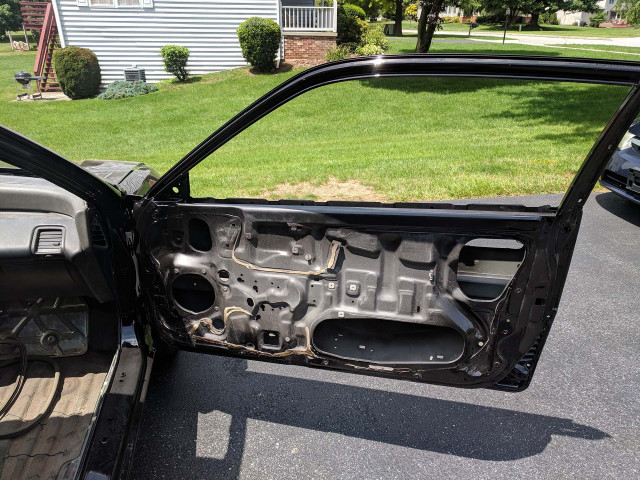
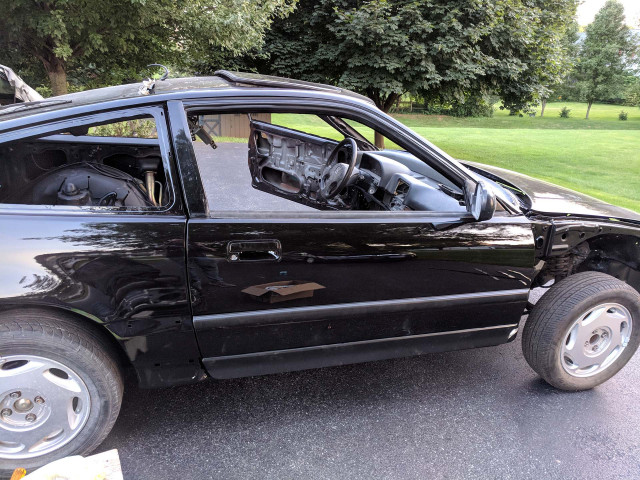
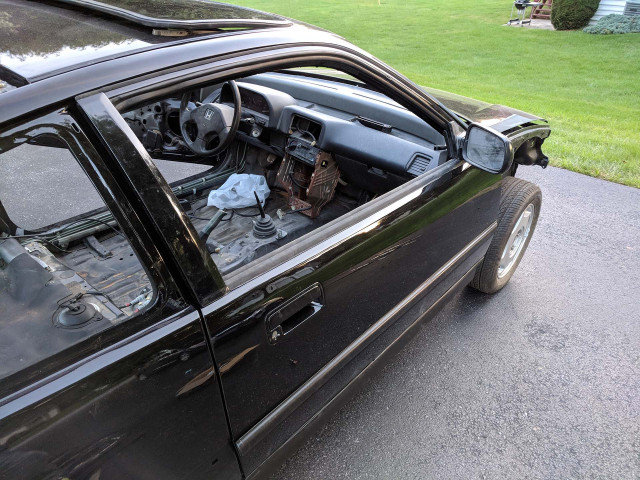
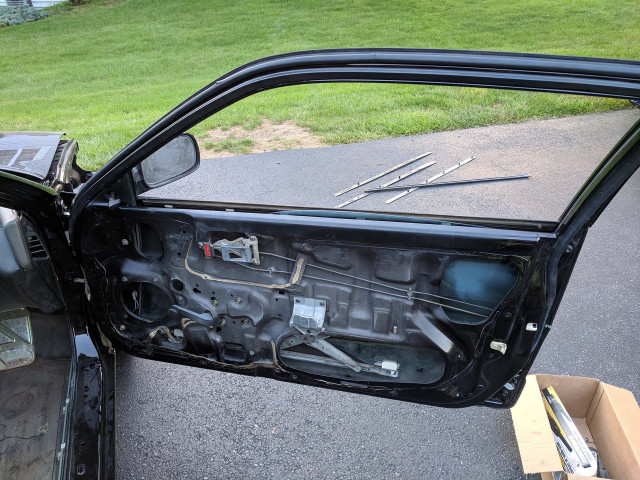
After the completion of the paint by Heritage Auto Collision in Carlisle, the car needed some time in the sun. The weather did not cooperate for the first few days. Thankfully, we had some nice warm July days later in the week to help set the paint. The car looked beautiful. The paint had that perfect black hue with a gold violet shine when hit with sunlight.
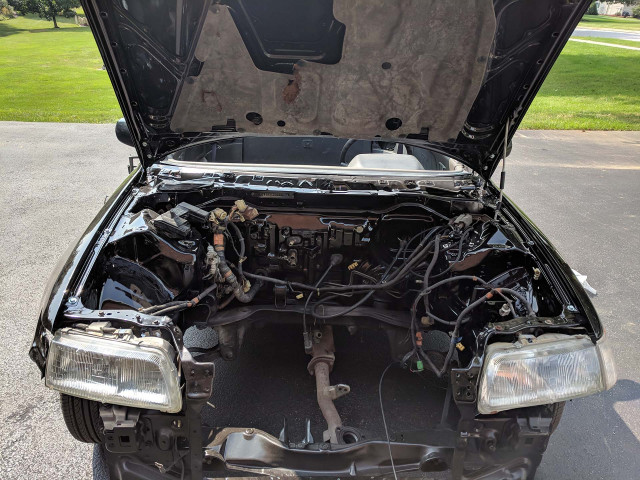
Now comes the daunting task of putting the car back together. It was quite intimidating. It was like a life-size 5,000 piece Lego set with no instruction manual. I did my best to label and document every section of the car using everything from pictures to Ziploc bags with part names. However, this project had been going on for quite some time, and two years had passed since the interior and exterior of the car was stripped down. I spent the better part of a few days simply reacquainting myself with the pieces of the car. I decided to break up the rebuild into sections:
- Roof
- Rear End
- Doors and Trim
- Interior
- Engine
- Front End
It was much easier to separate and organize the parts based on these sections. And with that, I began.
Roof
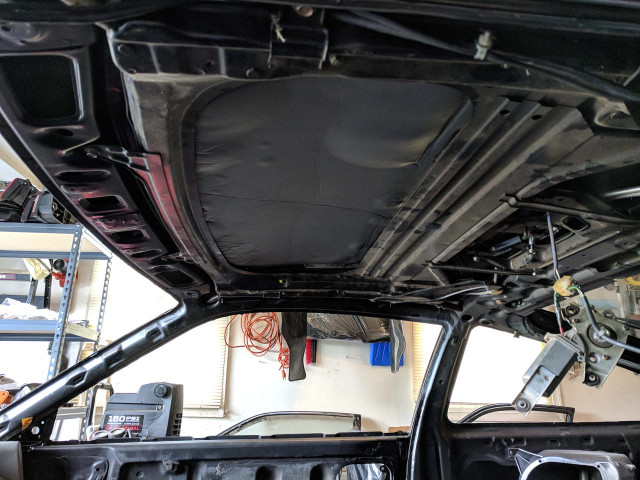
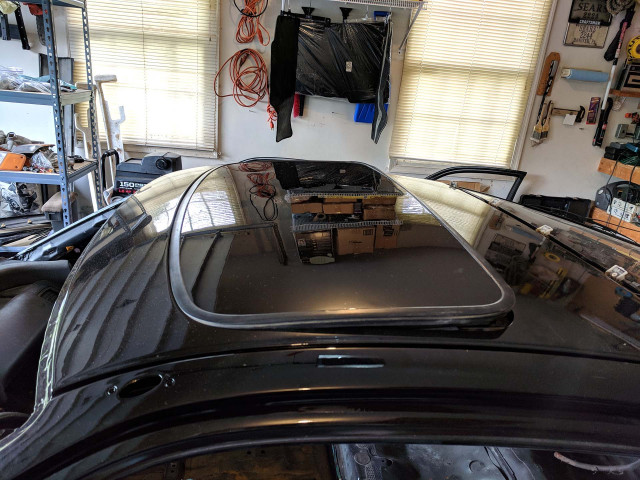
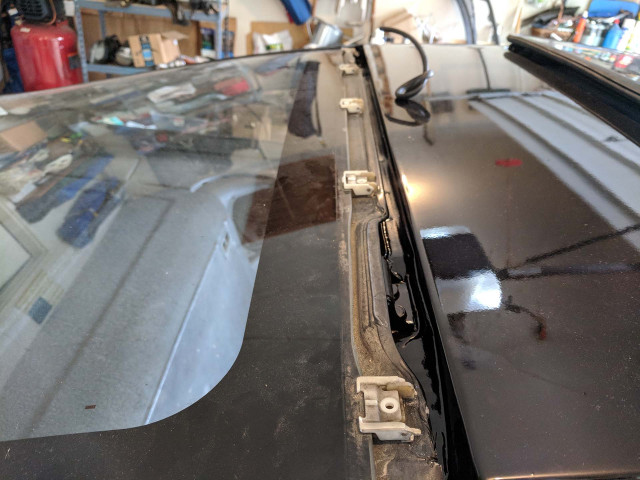
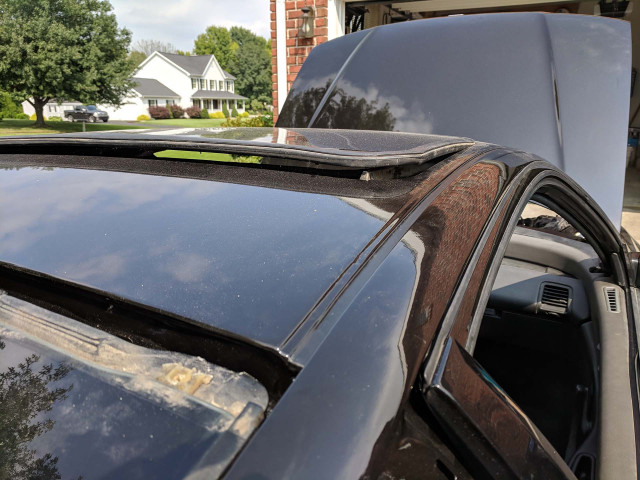
The sunroof assembly slid of the car easily and went back in just as easily. The most difficult part was reassembling the actual sliding roof. It fit up perfectly after a bit of maneuvering. The weather stripping was good enough to save and made a near-perfect seal.
That’s about where the good luck ended when it came to the roof of the car.
The rear washer nozzle was broken and needed to be replaced. The washer hose that ran from the reservoir in the front, through the cabin, and to the rear nozzle was cut near the middle of the driver’s seat. I purchased new rubber tubing and ran a new washer line from the front of the car to the newly replaced nozzle. The original antenna, which mounted on the roof above the driver’s side door, was frayed and needed to be replaced. Luckily, the second antenna from the first CRX was in good shape. It took a couple of extra hours and a few extra bucks, but the roof section came together.
Rear Bumper and Hatch
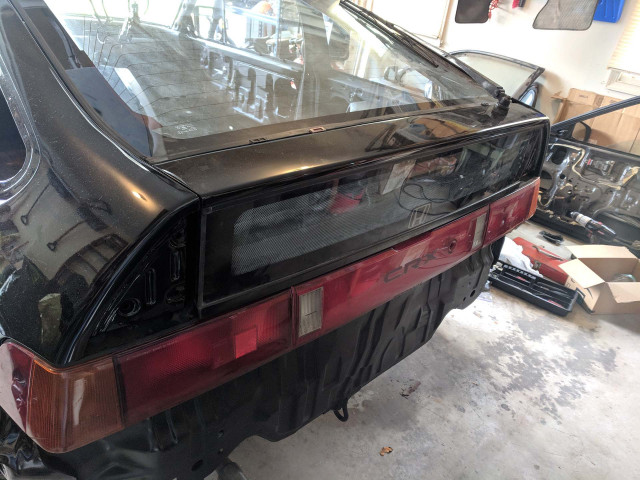
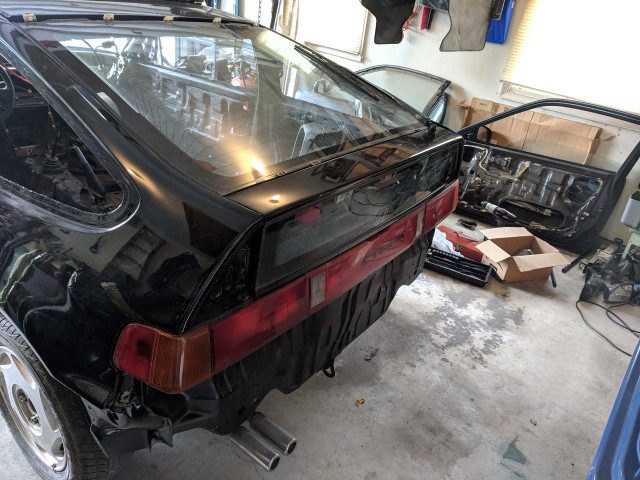
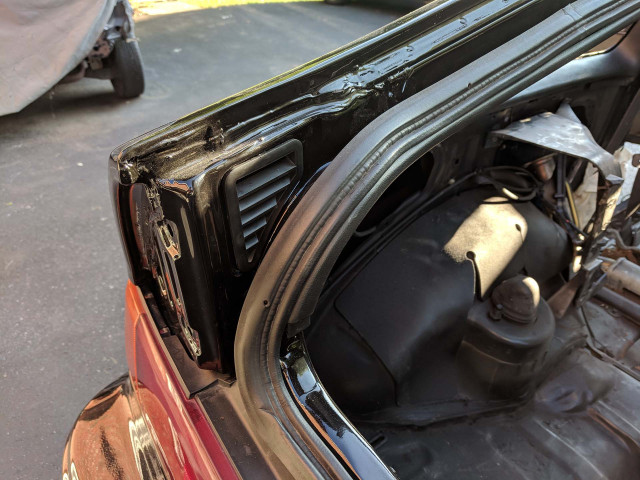
I split the task of reassembling the rear end of the car into two days. The first day was spent working on the hatch. After lining up the hatch with the quarter panels and the roof, it was bolted back into placed. I purchased replacement hatch struts that, to my pleasant surprise, worked very nicely. They were only $20.00 on amazon. The striker, interior vinyl, and rear wiper were straightforward enough to reassemble. There was one big problem with the hatch. The clips holding the garnish above the glass were all broken. These garnishes surrounding the glass were removed prior to painting the car. What I didn’t realize was the only was to replace the clips was to remove the hatch glass. I had to postpone installing those garnishes and needed to schedule time with the auto glass vendor.
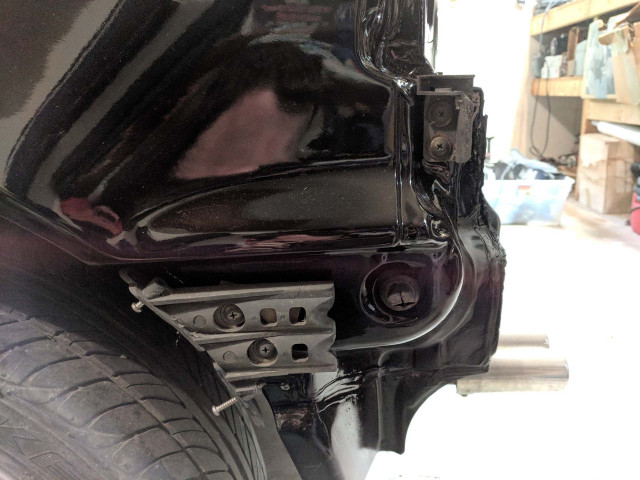
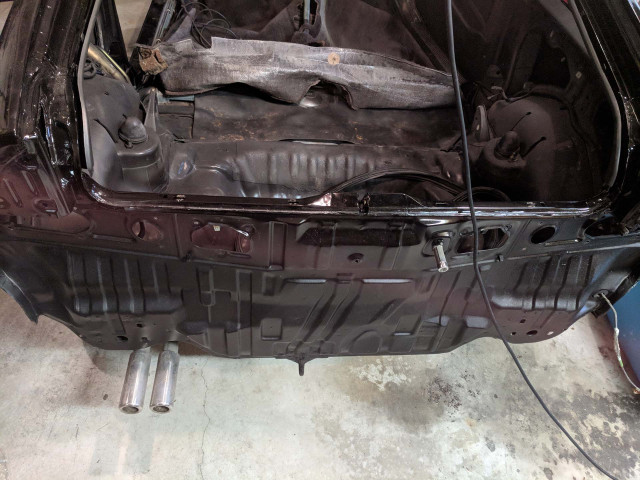
Both the front and rear bumper supports were in bad shape. They had lots of surface rust from sitting in storage. The supports were not set to the shop to be paint with the rest of the car, so they needed some love and care before being attached. All it took was a wire brush and some black rustolium from a local hardware store to clean them up. They turned out well considering the first CRX’s bumper supports were completely disintegrated
Doors
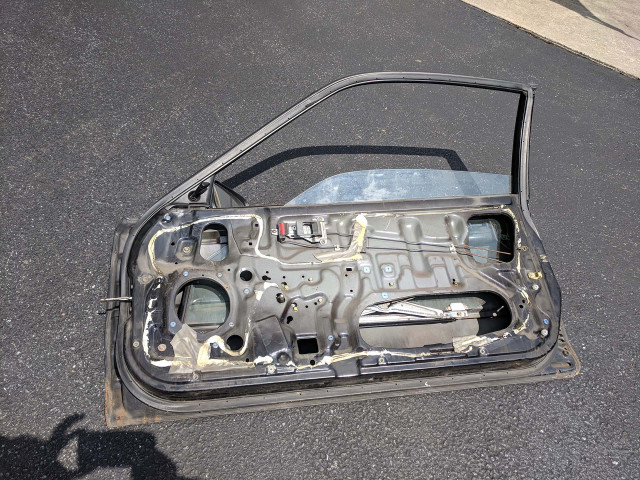
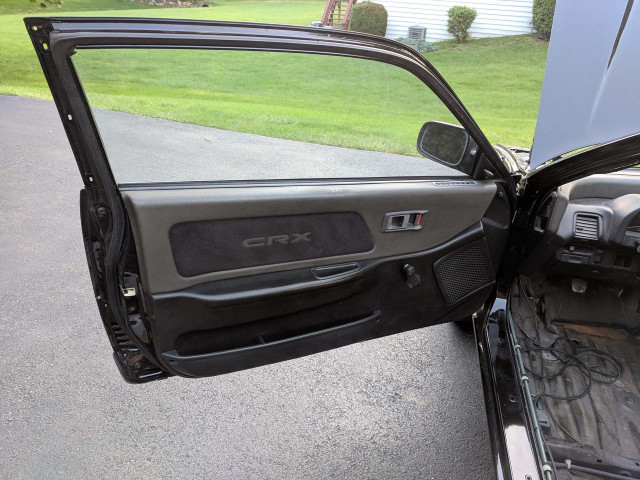
I spent the better part of a week on the doors alone. It’s so much easier to take them apart than to put them back together. Weather stripping, alignment, trim – they all took time to align and install. Once again the first CRX proved very useful in providing a model door and the occasional missing bolt.
Interior
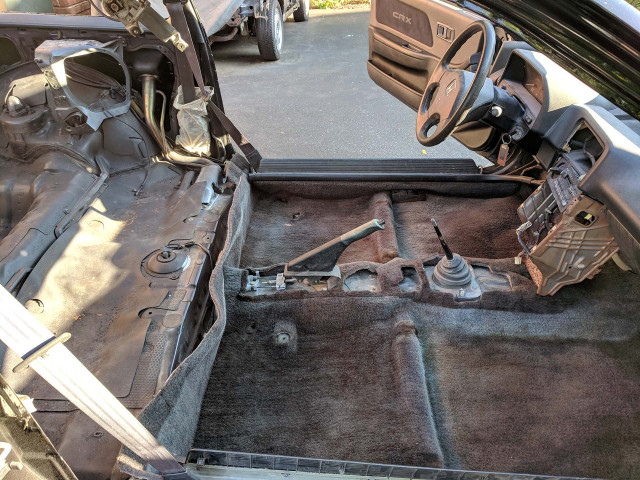
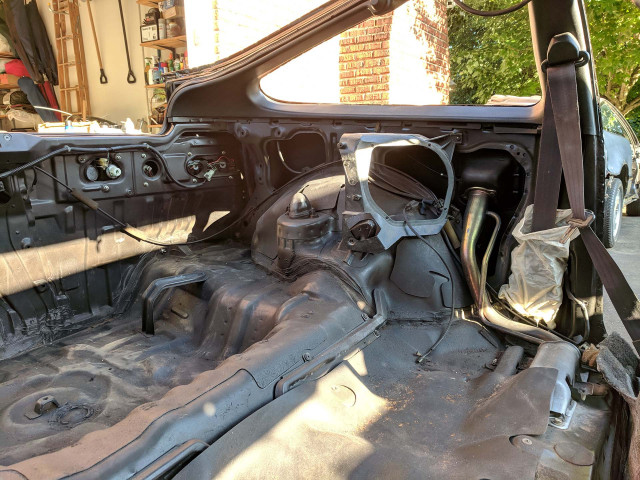
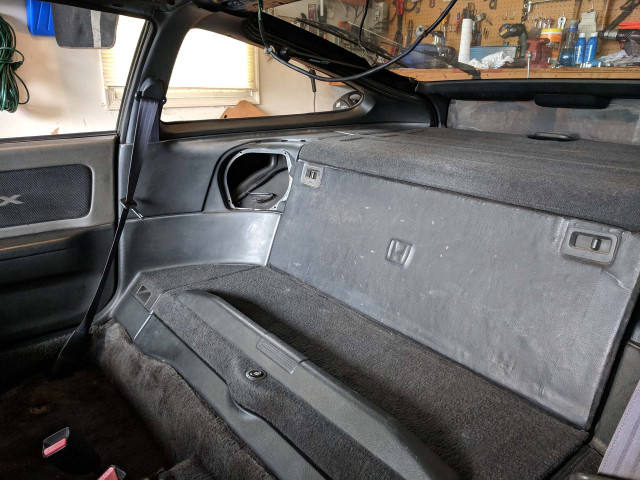
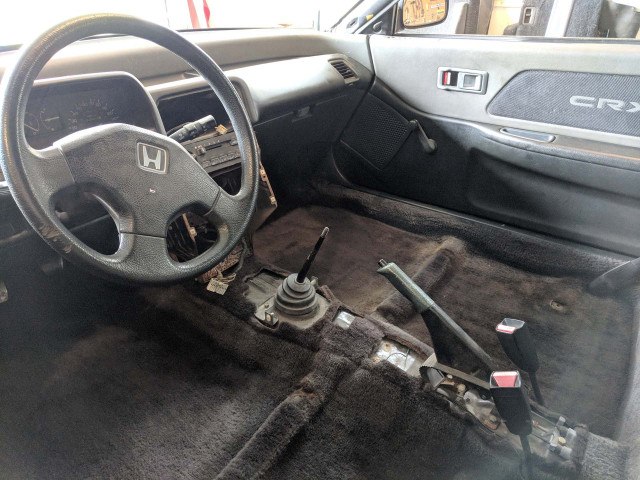
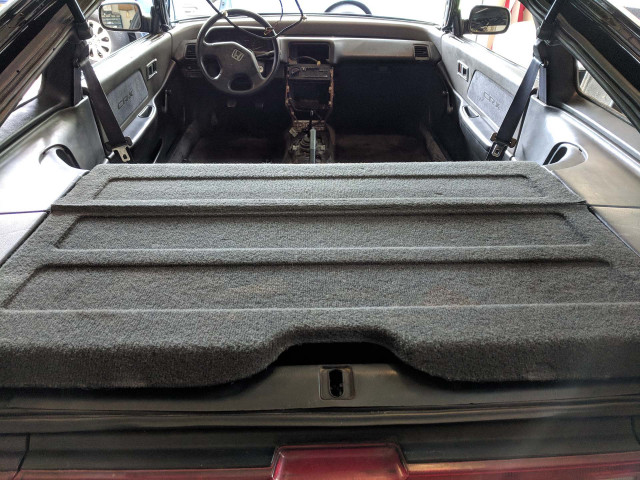
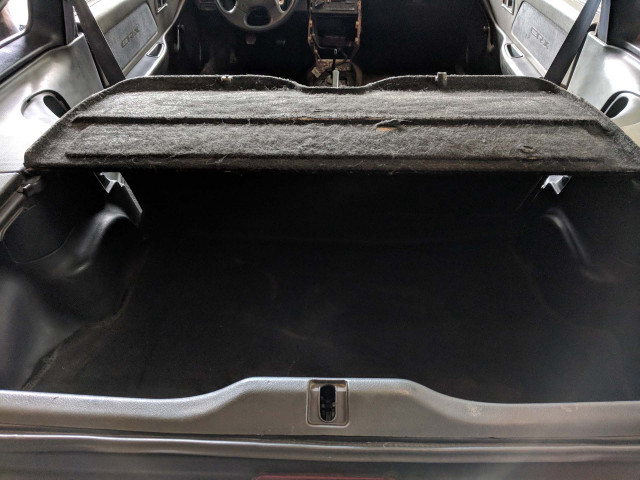
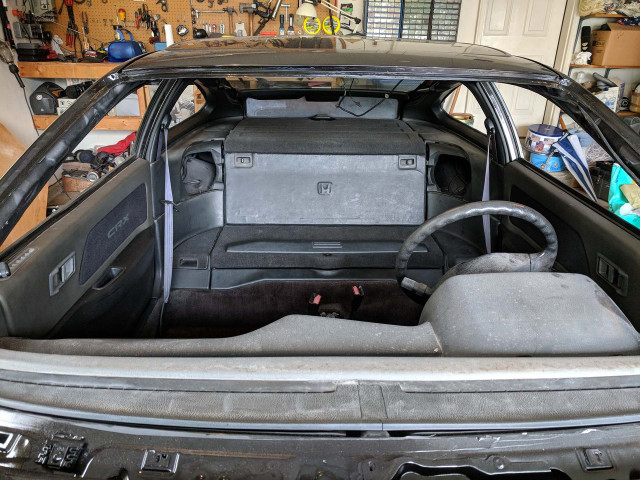
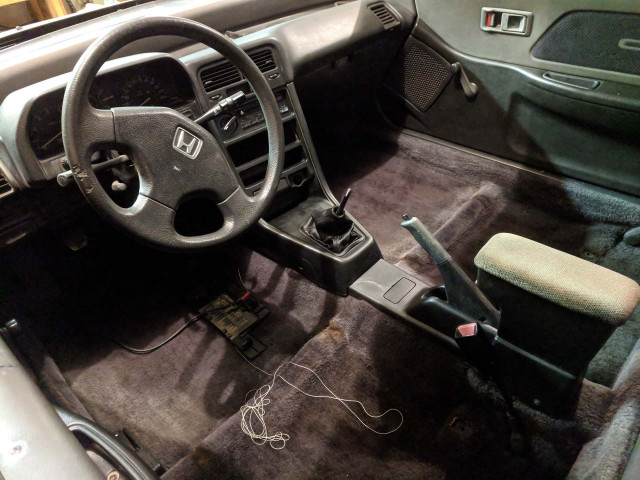
Last but not least (for now, anyway) was the interior. I have a love-hate relationship with the interior of this car. 30-year-old vinyl and 30-year-old clips are fickle. The best pieces between the two cars were cleaned up and installed from back to front. The rear shelf was also pieced together and the spare tire was cleaned, inflated, and installed. It was starting to look like a complete car.
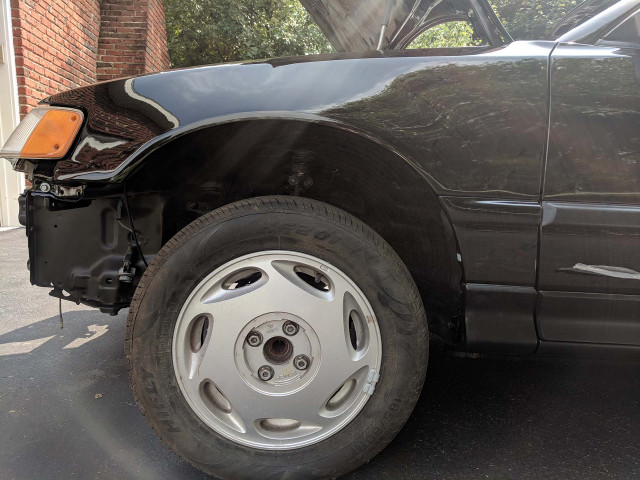
I even had a chance to get the front fenders fitted and lined up.
The next phase is installing the B16A engine and working on the drivetrain, which will hopefully be in August or September.

