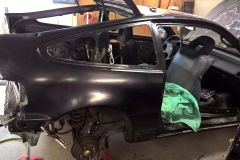
Today began the process of installing the OEM quarter panels I purchased in January. But first, more supplies had to be purchased.
- 3” 36-grit grinding disks
- 1 gallon of 2k gray primer
- Three-quarter inch and two inch green masking tape
- 18” masking paper
- 8mm spot weld drill bit
- 3” cutoff wheel
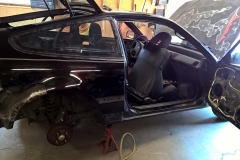
The first order of business was to jack the car back up and remove the right rear wheel. In order to protect the carpet and interior, the trim was removed. The door latch and seat belt were also removed. I also removed the passenger side triangle, but once again the clips snapped. I don’t think there is any safe way to remove those. Hopefully the clips are still available when it’s time to reattach the triangles.
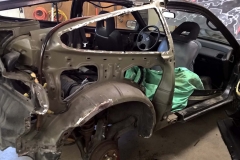
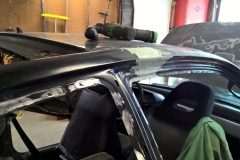
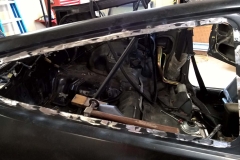
Before carving out the quarter panel, we needed to remove the window. My friend and I cut out the window and wire brushed all of the remaining polyurethane off of the car. Unfortunately we nicked the glass as we were cutting the bottom of the window, so we will need to remove the passenger window on the first car when it comes time to reinstall it.
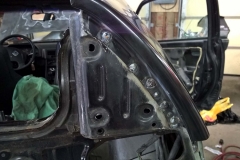
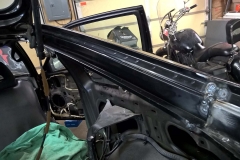
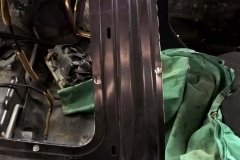
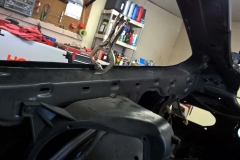
The next task was to drill out over 50 spot welds along the old quarter panel and make the appropriate cuts. The OEM outer quarter panels actually provided more metal than we needed, so we also had to drill out and cut the fresh metal. It took over six hours to remove the panel and get the new one on. In the end, it aligned perfectly. We reattached the hatch and passenger side tail light to align the panel further. After everything was fitted, it was time to commit.
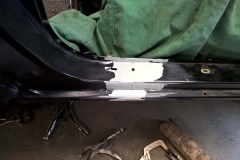
We made quick work of welding the new panel in place. Spot welds were placed about every 3 inches and when appropriate. After grinding and smoothing out the welds, the wonderful 3M seam sealer was applied. This product came highly recommend by my friend and should work wonders in preventing the evil Honda rust.
We got a chance to sand down the quarter panel. The hood, doors, and passenger quarter panel are now ready for primer.

